Blog
Energy Efficiency Retrofit
Plan an energy efficiency retrofit in the right order, from diagnosis and air sealing to HVAC, electrification, budgets, bids, and verification.
Three inches of dusty attic insulation can decide where an Energy Efficiency Retrofit starts, but only a measured plan can tell you what should come next.
A retrofit improves an existing home's shell, mechanical systems, controls, or appliances so the house uses less energy while staying safe and comfortable. Begin with bills and a diagnostic assessment. Reduce the heating and cooling load, fix distribution, then replace equipment when its condition and the project sequence call for it.
Build a first-pass plan
- Separate heating, cooling, hot water, and other loads with the Bill Breakdown Estimator.
- Write down two comfort problems and any equipment near the end of its service life.
- Put candidate projects into My Plan, then verify the order with an auditor or qualified contractor.
On this page
- What counts as an energy retrofit
- Diagnose before collecting bids
- Put the work in a durable order
- 1. Stop water and safety problems
- 2. Reduce the load
- 3. Repair delivery
- 4. Select equipment for the revised house
- 5. Commission and verify
- Match the scope to the money available
- Compare contractor proposals line by line
- Two worked plans
- Edge cases that change the plan
- Retrofit checklist
- Measure whether it worked
- Sources
What counts as an energy retrofit
The scope can be one careful project or a multi-year renovation. It may include:
- Air sealing at the attic floor, rim joist, plumbing penetrations, and other leakage paths.
- Insulation, after moisture problems and unsafe wiring are handled.
- Duct sealing, return-path corrections, and airflow balancing.
- A heat pump, furnace, air conditioner, or water heater selected for the improved home's load.
- Windows when frames, seals, water management, safety, or comfort justify them.
- Electrical circuits, load management, or service work needed for planned equipment.
- Controls and commissioning. A good thermostat cannot correct a badly sized system, but it can keep a sound one on schedule.
The U.S. Department of Energy treats retrofits as a coordinated route to lower energy use and emissions in existing buildings. ENERGY STAR's home-upgrade framework likewise groups shell and equipment improvements rather than treating every purchase as an isolated fix.
Diagnose before collecting bids
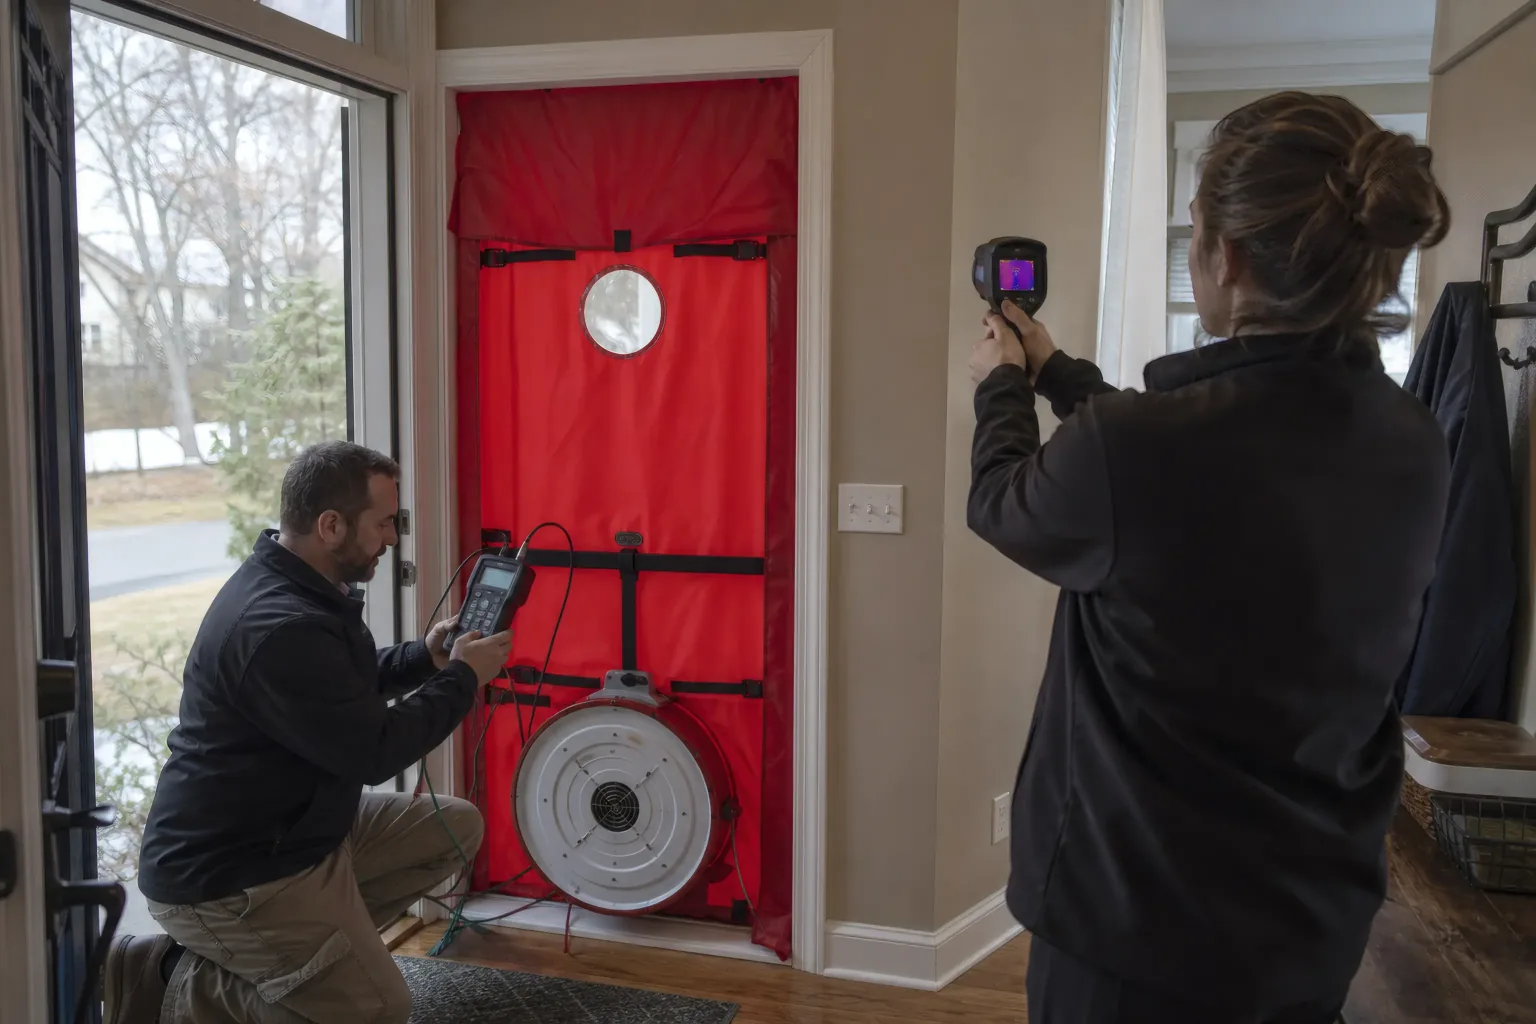
Twelve months of utility bills provide a seasonal pattern. A professional assessment can add a blower-door test, combustion-safety checks where applicable, infrared imaging under suitable conditions, insulation inspection, and equipment data.
Ask for the findings in writing. Each recommendation should name the observed problem, proposed work, expected effect, and a way to verify completion.
| Evidence | What it can reveal | What it cannot settle alone |
|---|---|---|
| High winter fuel use | Heating is a strong candidate | Whether leakage, insulation, ducts, controls, or equipment dominates |
| Blower-door result | Whole-house leakage at a test pressure | The exact location of every leak |
| Infrared image | Temperature differences at that moment | Air leakage without supporting testing |
| Room-by-room load calculation | Heating and cooling required after stated improvements | Actual duct airflow or installation quality |
| Panel load calculation | Available electrical capacity under the chosen method | Whether every proposed appliance is the right purchase |
A contractor who recommends a full system from square footage alone has skipped a consequential step. For HVAC replacement, request a room-by-room load calculation and equipment selection data.
Put the work in a durable order
1. Stop water and safety problems
Repair active roof or plumbing leaks, address bulk water and drainage, and investigate combustion or electrical hazards. Insulation can hide a leak and make later repair harder.
2. Reduce the load
Seal measured leakage paths and improve insulation where the existing assembly and climate support it. ENERGY STAR's seal-and-insulate guidance focuses on attics, floors over crawl spaces, accessible basement rim joists, and exterior walls as common opportunities.
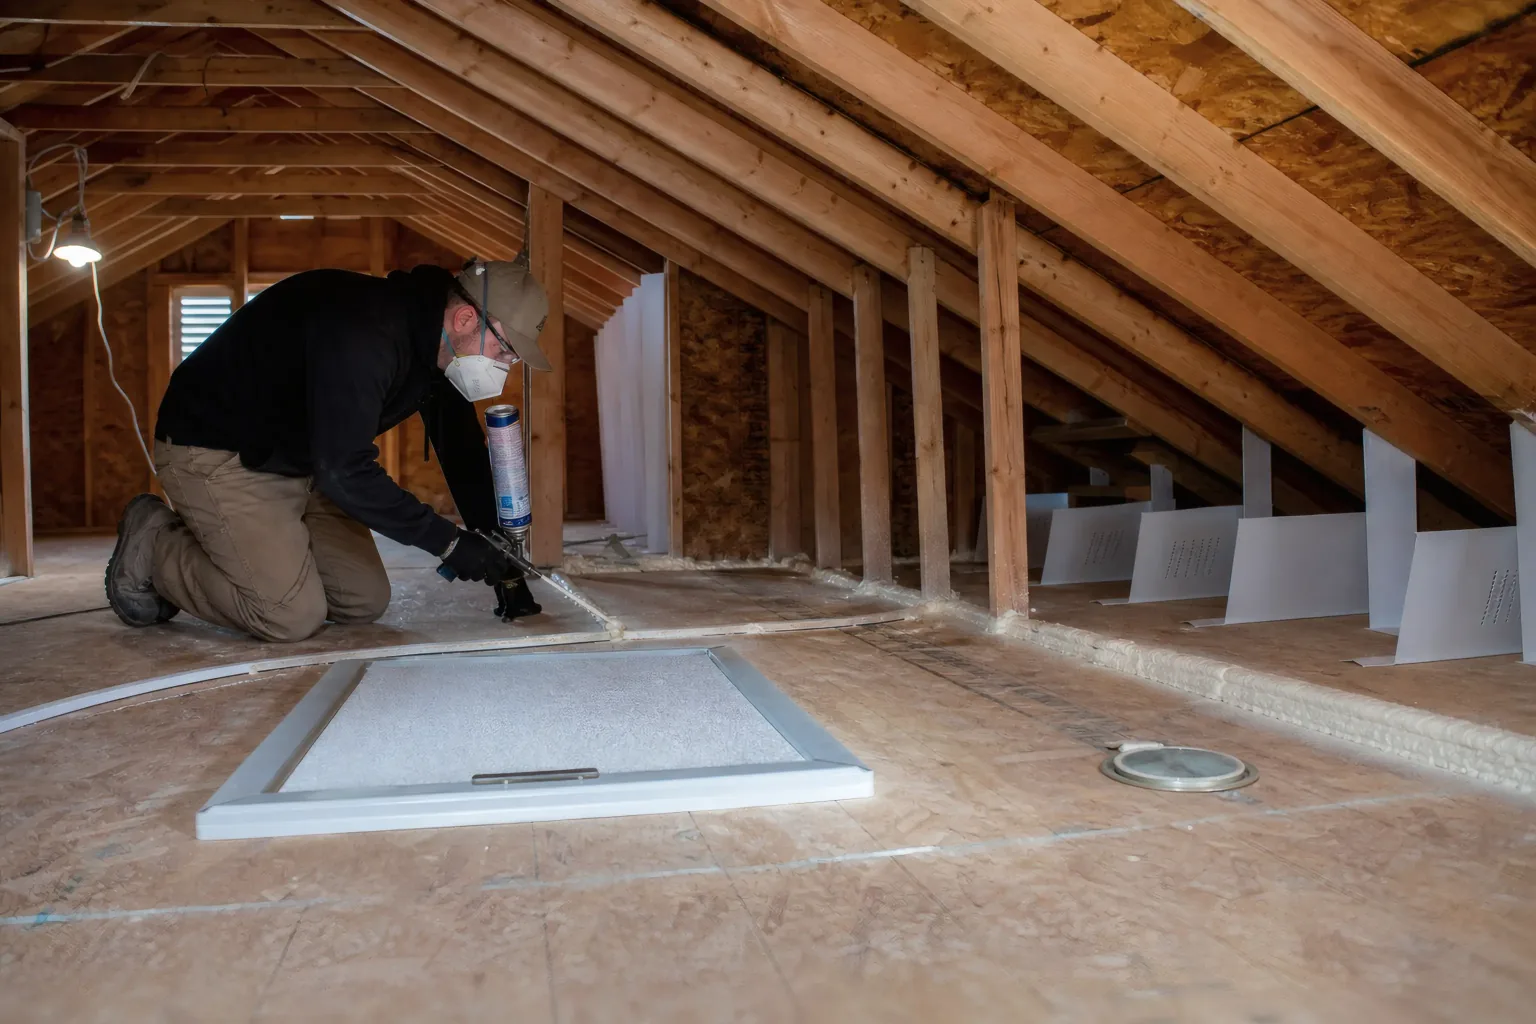
Use the attic insulation calculator for a quantity estimate. Then read insulation before a heat pump before approving new equipment.
3. Repair delivery
Leaky ducts in an attic or crawl space can waste conditioned air before it reaches a room. Seal accessible joints with appropriate materials, correct crushed or disconnected runs, and measure airflow after changes. Closing registers can raise duct pressure and leave the root airflow problem untouched.
4. Select equipment for the revised house
Equipment that is failing, unsafe, or impractical to repair may move earlier in the sequence. Give the designer your planned shell work so sizing reflects the house you are building toward.
For electrification, list the heat pump, water heater, cooking, vehicle charging, and dryer loads together. A code-compliant load calculation may show that load management can avoid a larger service, though some homes will need new capacity. The panel-upgrade checklist helps organize that conversation.
5. Commission and verify
Collect model numbers, permits, warranties, test results, and photos before concealed work is covered. For HVAC, verification may include airflow, static pressure, refrigerant charge by the manufacturer's procedure, thermostat staging, and a complete startup report.
Match the scope to the money available
These planning examples illustrate scope. Local labor, climate, access, incentives, and existing conditions can move bids sharply.
| Available budget | Sensible emphasis | Hold for later |
|---|---|---|
| Around $2,000 | Assessment, attic-hatch and accessible air sealing, minor duct repairs, controls, targeted safety work | Large equipment chosen without load data |
| Around $10,000 | A defined shell package, or shell work plus one focused system improvement | Scattered upgrades that leave no verification budget |
| Around $25,000 | Coordinated envelope, distribution, and equipment work with electrical planning | Finish work that blocks access before testing is complete |
An old furnace that fails in January changes the order. Replace the urgent equipment, document assumptions, and avoid sizing extra capacity merely to compensate for leaks you intend to fix.
Compare contractor proposals line by line
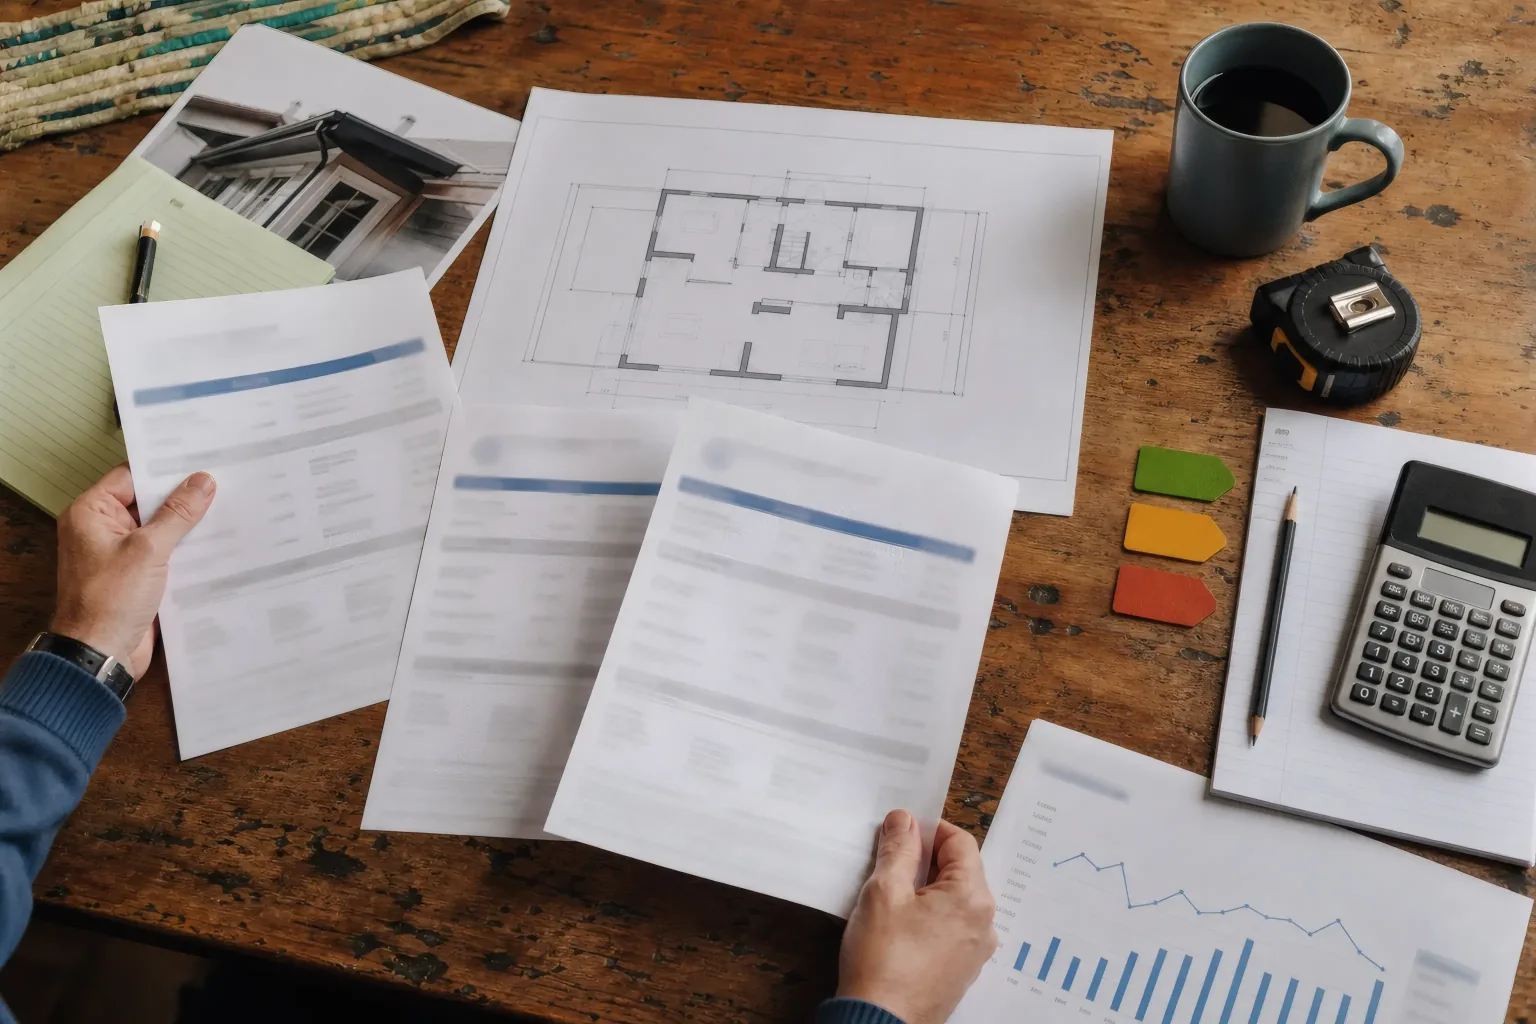
Require the same basic scope from each bidder. A lower total can omit disposal, permits, air sealing, electrical work, or commissioning.
- Exact areas and depths for insulation, including the settled R-value where relevant.
- Locations and materials for air or duct sealing.
- Equipment model numbers, capacity, efficiency rating, and design conditions.
- Allowances. Clarify what happens when an allowance is exceeded.
- Verification, with named tests and the person responsible.
- Protection, cleanup, permit handling, payment schedule, and change-order terms.
I prefer bids that state exclusions plainly. A short, candid exclusion list is easier to manage than a reassuring paragraph with no measurable scope.
Two worked plans
High winter bill, cold upstairs, serviceable furnace. Bills and testing point to attic leakage; ducts cross the attic. The owner seals the ceiling plane, brings insulation to the agreed level, repairs ducts, then measures comfort through a winter before replacing the furnace. The later load calculation uses the finished shell.
Water-heating load dominates. Space-conditioning use is moderate, but the household's electric resistance water heater is a large, steady load. The first major equipment project may be a heat pump water heater, provided the room volume, condensate route, noise, and electrical requirements work. Attic repairs can remain a separate phase.
Edge cases that change the plan
- Knob-and-tube wiring or vermiculite. Stop before disturbing or burying suspect material. Use qualified electrical or hazardous-material professionals as appropriate.
- A damp basement. Correct drainage and moisture sources before adding interior insulation that could trap water.
- Historic construction. Vapor movement, masonry, plaster, and window details deserve a building-specific design.
- A household member relies on powered medical equipment. Electrical resilience and indoor-temperature safety belong in the first phase.
- Solar is planned. Reduce and understand loads first, then size generation against measured consumption and realistic future electrification.
Retrofit checklist
- Gather 12 months of electric and fuel bills.
- Record comfort, moisture, odor, and noise problems by room.
- Photograph equipment nameplates and the electrical panel.
- Obtain diagnostic findings and a prioritized scope.
- Resolve water, combustion, and electrical concerns.
- Model planned shell improvements before HVAC selection.
- Compare equivalent bids and written exclusions.
- Reserve a contingency and money for testing.
- Save permits, manuals, warranties, photos, and commissioning results.
- Compare weather-normalized use after the work.
Measure whether it worked
Compare energy use across similar weather, occupancy, and billing periods. Dollar totals alone can mislead when rates or fixed charges change. The cost and savings method explains the limits of projections.
Comfort belongs in the record too. Note room temperatures, humidity, equipment cycling, noise, and whether former problem rooms improved. When results fall short, return to test data and installation details before buying another product.
Sources
- U.S. Department of Energy: Retrofit Existing Buildings, for the whole-building retrofit context.
- ENERGY STAR Home Upgrade, for a coordinated package of high-impact home improvements.
- ENERGY STAR: Seal and Insulate, for common envelope priorities and homeowner guidance.
Build the sequence in My Plan, and use the Upgrade Timing Planner to separate urgent work from projects that can wait.
Try the companion tool
This post links to an interactive tool built for this topic. Open it to see numbers tailored to your home.
Open the toolGet practical energy tips
Join homeowners getting practical tips on cutting energy bills and staying comfortable.
Practical tips only. Unsubscribe anytime.
Read this next
Related guides selected by topic overlap and upgrade path.
Compare attic insulation, air sealing, and a heat pump using your rates and comfort goals so you spend on what moves the needle.
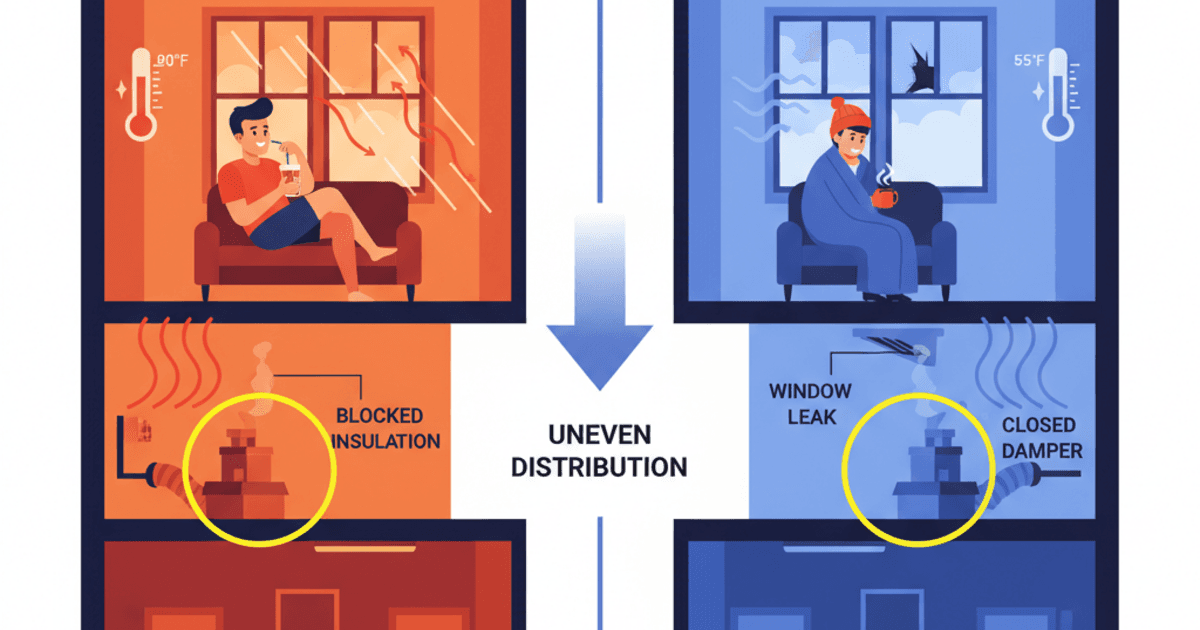
Weekend-level fixes to even out hot and cold rooms before spending on new HVAC or windows.

Plain-English guide to SEER2, HSPF2, AFUE, U-factor, SHGC, ACH50, kWh and other labels so you can compare quotes and plan upgrades.
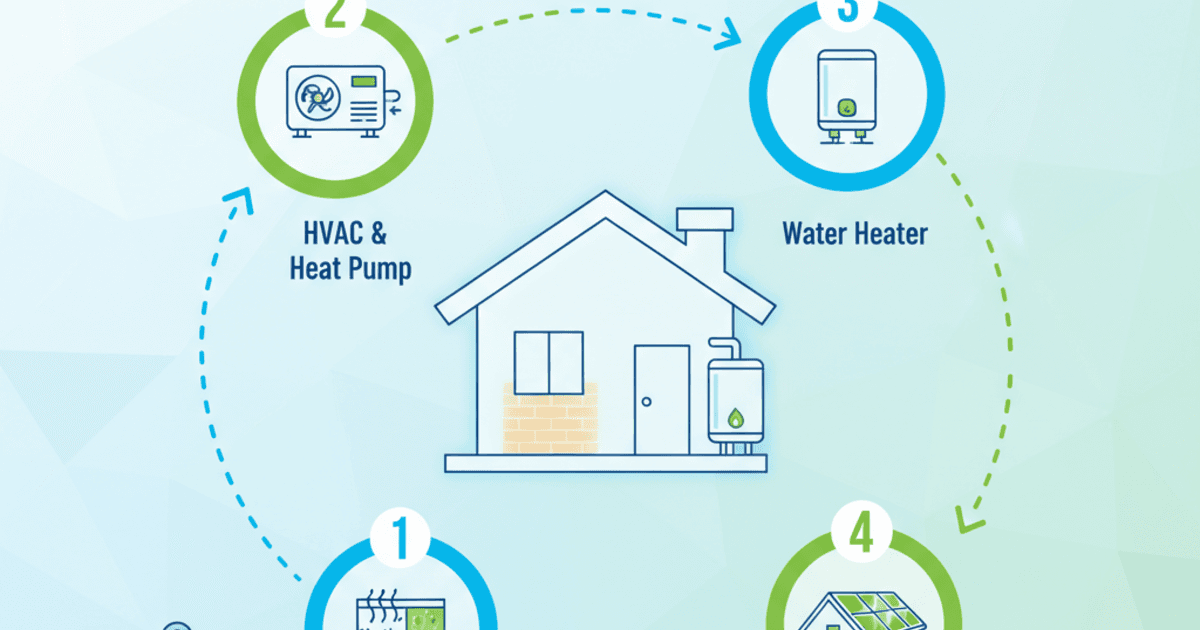
Step-by-step plan to prioritize weatherization, right-sized HVAC, water heating, and solar so you avoid expensive missteps.